
In this series of articles, we are collecting the user experiences of SHAKTI. This is from one of our interns in the RISE Lab. It also has a detailed account of all the errors he faced during execution and its solutions.
Development Environment
| OS | Ubuntu on VMware |
| Board | Arty7 35t with Micron Flash |
Where did you hear about shakti?
I was doing my internship under Shri Shankar Raman and Shri Anand Kumar. While doing my internship, I got to know about Shakti by them. Then i visited the shakti.org.in website for more information.
What were your first thoughts?
As an Indian citizen, I was feeling proud that our India has got a Indigenous processor built from RISE group @ IIT Madras.
Were you able to understand the materials we have?
I didn’t read every material. I understood everything i read, for instance, the Shakti SDK User Manual,Shakti SoC manual.
Were you able to get help from the Forums/video tutorials/ blog articles we have?
Yes, of course. Shakti YouTube channel was helpful for programming the FPGA (Both manually & by MCS).
What are the errors you faced while using shakti?
I got few errors which is listed below. When i couldn’t find the solutions anywhere. I got more ideas from my mentors mentioned above, Learn-With-Shakti, Stack overflow, Shakti YouTube channel, medium.com.
Error 1:
kapil@Kapil:~$ cd dtc-1.4.7/
kapil@Kapil:~/dtc-1.4.7$ sudo make NO_PYTHON=1 PREFIX=/usr/CHK
version_gen.hLD dtc/usr/bin/ld: dtc-parser.tab.o:/home/kapil/dtc-1.4.7/dtcparser.tab.c:1076: multiple definition of `yylloc'; dtc-lexer.lex.o:/home/kapil/dtc-1.4.7/dtc-lexer.l:41: first defined here collect2: error: ld returned 1 exit status make: *** [Makefile:325: dtc] Error 1
Solution:
Delete the line 1076 in the file ~/dtc-1.4.7/dtcparser.tab.c. Now open the terminal and run the commands. Then the Device tree compiler will be installed successfully.
Error 2:
kapil@Kapil:~/shakti-soc/fpga/boards/artya7-35t/e-class$ make quick_build_xilinx
make[1]: Entering directory '/home/kapil/shakti-soc/fpga/boards/artya7-35t/e-class/boot-code'
make[1]: Entering directory '/home/kapil/shakti-soc/fpga/boards/artya7-35t/e-class/boot-code'
'' Compiling BOOT Polling code ''
'' Caveat: BOOT Code starts at 0x2000. Configure RTL appropriately ''/bin/bash: riscv32-unknown-elf-gcc: command not found
make[1]: *** [Makefile:20: boot.riscv] Error 127
make[1]: Leaving directory '/home/kapil/shakti-soc/fpga/boards/artya7-35t/e-class/boot-code' make: *** [Makefile:150: generate_boot_files] Error 2
Solution:
User should install the shakti-tools and then execute the command again.
Error 3:
In vivado,
open_hw: Permission Denied. Could not Open Hardware Manager.
Solution:
Change the Access Permission for /tools as read and write. Then open the terminal and run the vivado command. Now Vivado 2018.3 will run successfully.
Error 4:
HARDWARE MANAGER AUTO CONNECT not detecting arty a7 as in the figure below,
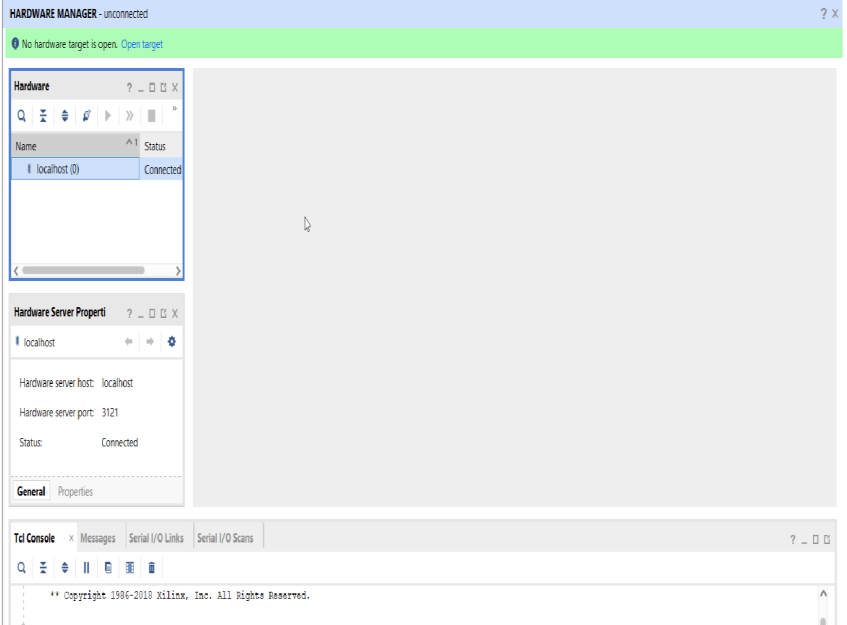
Solution:
If you are using ubuntu and vivado in virtualbox, then add an usb extension to the virtualbox for your corresponding version.
Here is the link.
- Navigate to the
“virtualbox6.1.16 oracle vm virtualbox extension pack”and download the extension. - Then add it to the virtual box.
- After that, go to the usb section and select the usb version 2 as in Figure 2.
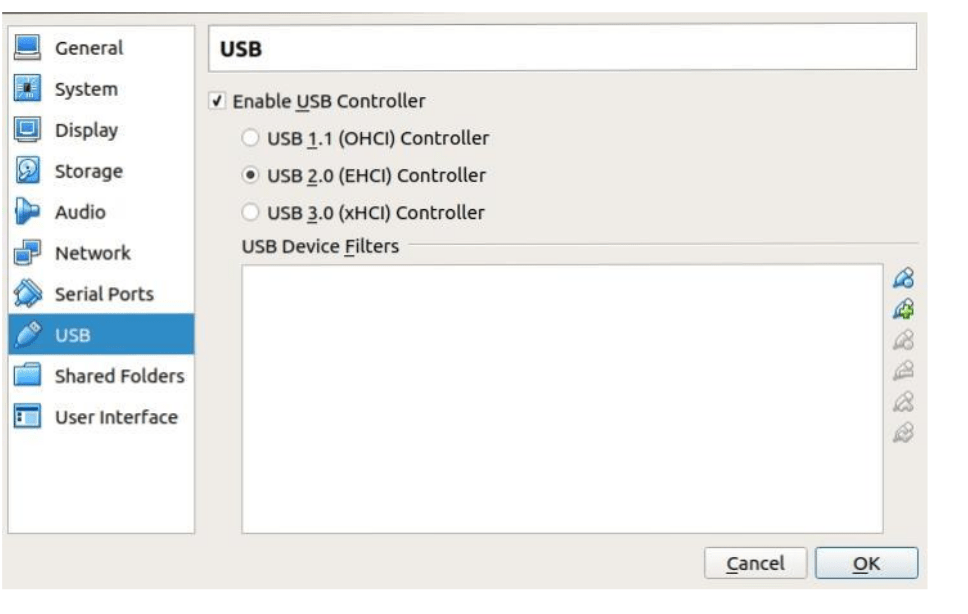
- Now connect the arty a7 board with
digilent usb cableand with cable_drivers installed onvivado.
Hurray!! arty is now connected with vivado.
Error 5:
sudo $(which openocd) -f spike.cfg shakti-tools/bin/openocd: error while loading shared libraries: libftdi1.so.2: cannot open shared object file: No such file or directory
Solution:
If the above error comes execute the following commands,
sudo apt-get -y install libftdi1
sudo apt-get -y install libftdi1-2
Error 6:
sudo miniterm.py /dev/ttyUSB1 19200sudo: miniterm.py: command not found
Solution:
1. You need to download the pyserial package, If this download fails click here.
2. Follow the below commands,
*Move into the folder into which pyserial is downloaded, then execute the following commands,
tar -zxvf pyserial-2.6.tar.gz
cd pyserial-2.6
python setup.py build
sudo python setup.py install
Error 7:
sudo miniterm.py /dev/ttyUSB1pyserial-could not open port '/dev/ttyUSB1': [Errno 2] could not open port /dev/ttyUSB1:[Errno 2] No such file or directory: '/dev/ttyUSB1'
SOLUTION:
USB1 is not a valid port in this case, Press tab once to automatically get the port to which the board is connected or Press tab twice to see the available options
Error 8:
kapil@Kapil:~/shakti-sdk/bsp/third_party/artix7_100t$ sudo $(which openocd) -f ftdi.cfg
[sudo] password for kapil:
Open On-Chip Debugger 0.10.0+dev-00615-gfd9c54b (2020-06-04-12:44)
Licensed under GNU GPL v2
For bug reports, read
 http://openocd.org/doc/doxygen/bugs.html
adapter speed: 1000 kHz
none separate
Info : auto-selecting first available session transport "jtag". To override use 'transport select <transport>'.
Info : Simple Register based Bscan Tunnel Selected
Error: libusb_claim_interface() failed with LIBUSB_ERROR_BUSY
Error: unable to open ftdi device with vid 0403, pid 6010, description '*', serial '*' at bus location '*'
SOLUTION:
This error occurs when we open multiple OpenOCD’s. Kill all the existing process and start the execution again.
ps aux | grep "openocd"
sudo kill <pid>
What can be improved?
I’m not in such a big position for telling/knowing what to improve. Everything works well. This is a great Success in India and for Indians.
Akshaya currently works at the RISE labs. Her favorite subjects are Web designing and Microprocessors. She loves learning about new things and writing about them!
Hello, I’d connected a LED to the board using ground and VCC, but then the board isn’t working, what shall be the fault
Hi Simmi, Please post the query in our forum with detailed log for us to assist you better.
https://groups.io/g/sp2020-shakti