
In the previous articles, we have discussed running SHAKTI applications from the Ubuntu terminal. However, working in a terminal can be tough and complicated. Imagine working with an IDE like environment instead of this. Enter Platform IO! Platform IO IDE is an extension available in Visual Studio CODE and ATOM. It is a cross-platform, cross-architecture, multiple framework, professional tool for embedded systems engineers and for software developers who write applications for embedded products. In this article, we are going to see how to install and use Platform IO in Windows 10/Ubuntu 18.4 using Visual Studio Code.
1. Prerequisites:
- A valid Python interpreter installed (recommended Python 2.7+ or Python 3.5+) and added as an environment variable.
- Windows: Here Python version 3.7.9 is used. You can automatically add it to the PATH as an environment variable during the installation process.
- Vivado 2018.3 or above installed with cable drivers. This is used to program SHAKTI onto the Arty7 boards.
- In Ubuntu, Please run the IDE as an admin instead of a user for the
minitermto work properly.
2. Setting Up PlatformIO on VS Code.
Step 1: Installing Visual Studio Code.
Firstly download the latest version of Visual Studio Code for your PC architecture (Win 32/64 or Lin32/64). Then go through the steps and install it.
Step 2: Installing PlatformIO
- Then open Visual Studio code. Search for Platform IO in the Extensions tab and install it.
- After that, Reload VS Code.
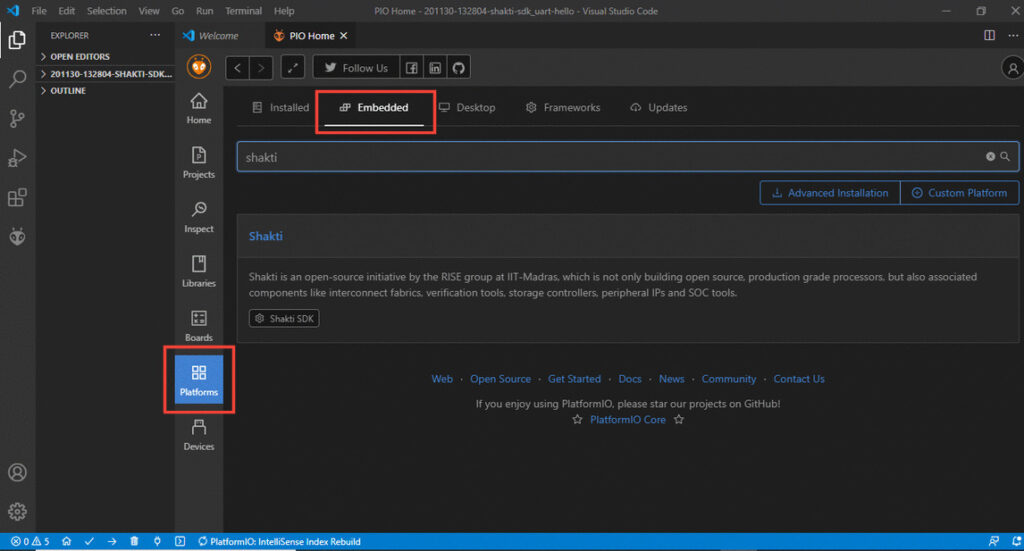
Step 3: Installing the SHAKTI Platform
Similarly in PIO Home, Go to Platforms and search for SHAKTI in Embedded tab.
Then choose SHAKTI 1.1.0, the latest version of the platform and install it
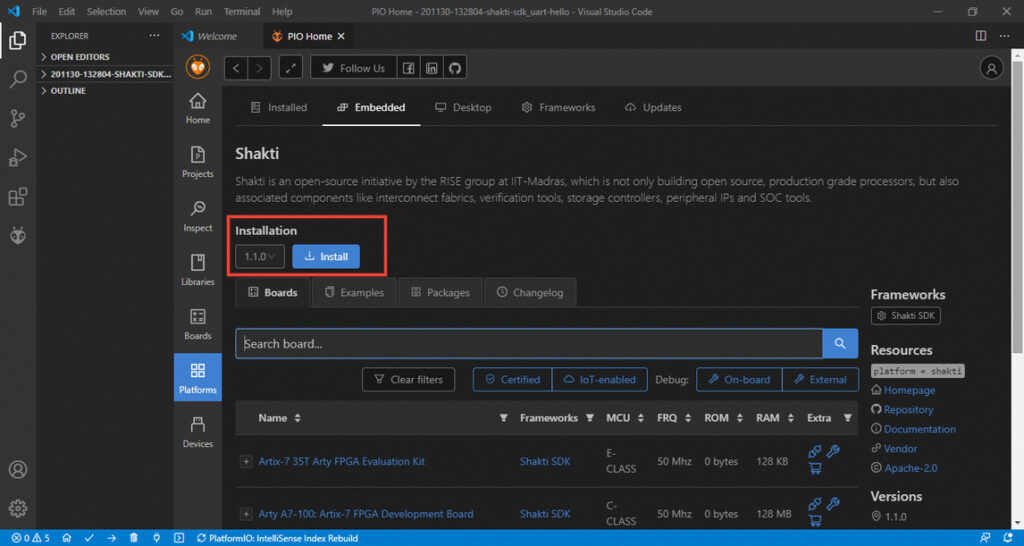
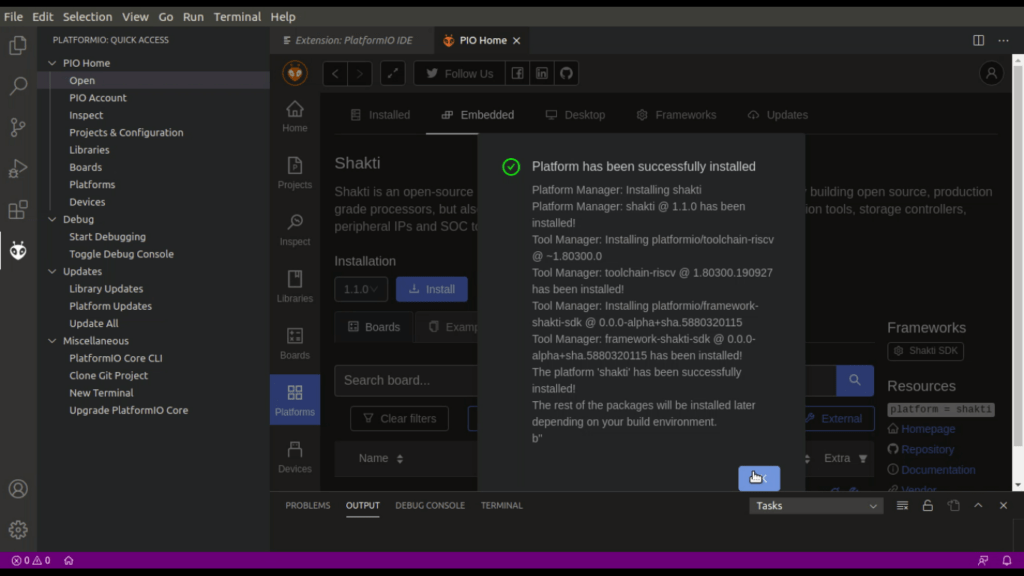
Therefore, SHAKTI is now successfully installed on PlatformIO.
3.Building and running SHAKTI Applications on PIO
A new project can be created in the following ways,
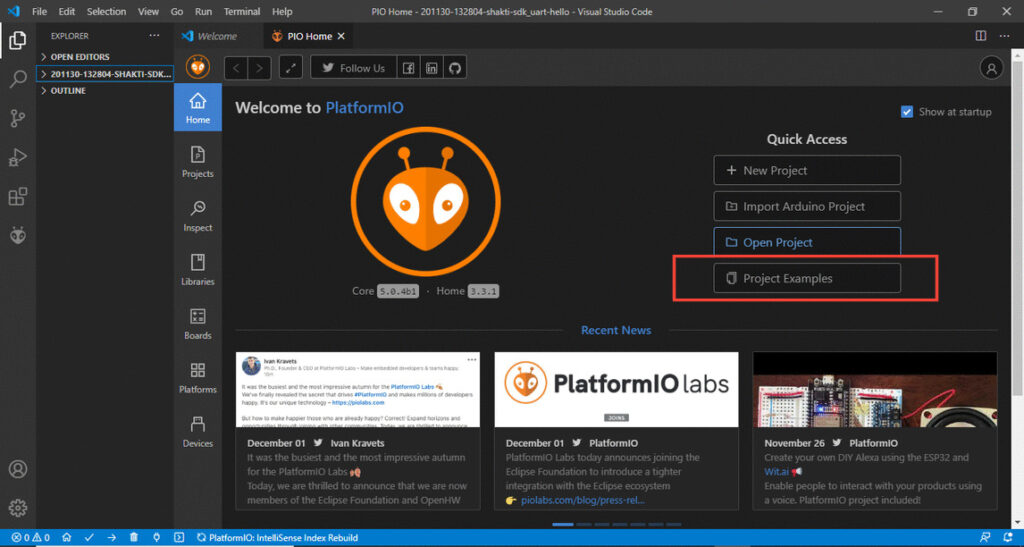
3.1.1 Using Project Examples
Firstly we’ll Import a simple example and try to build and run it on SHAKTI. For instance, a simple program to print hello world using UART. In PIO Home, Click on Project examples,
- Then import the example UART Hello.
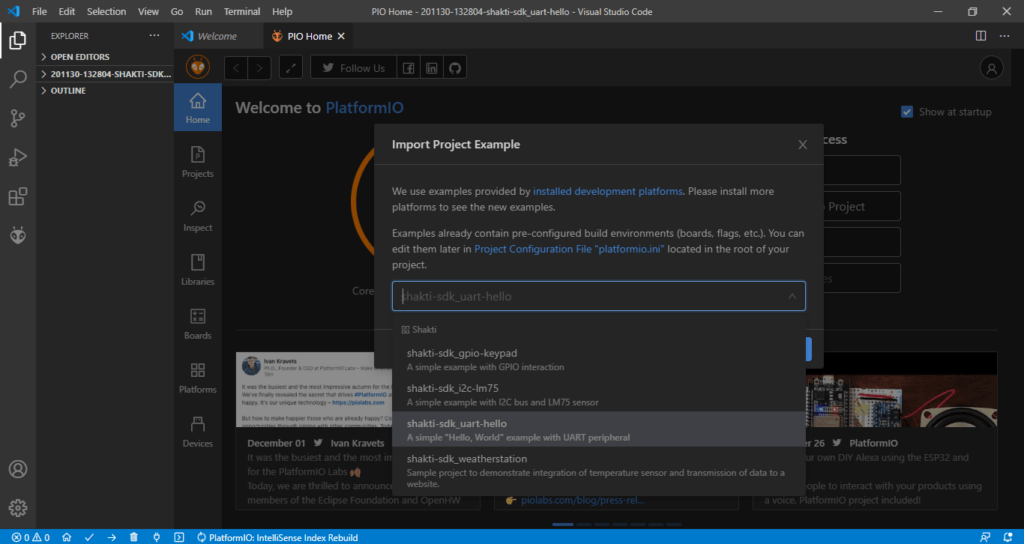
- Importing Uart hello from the project examples.
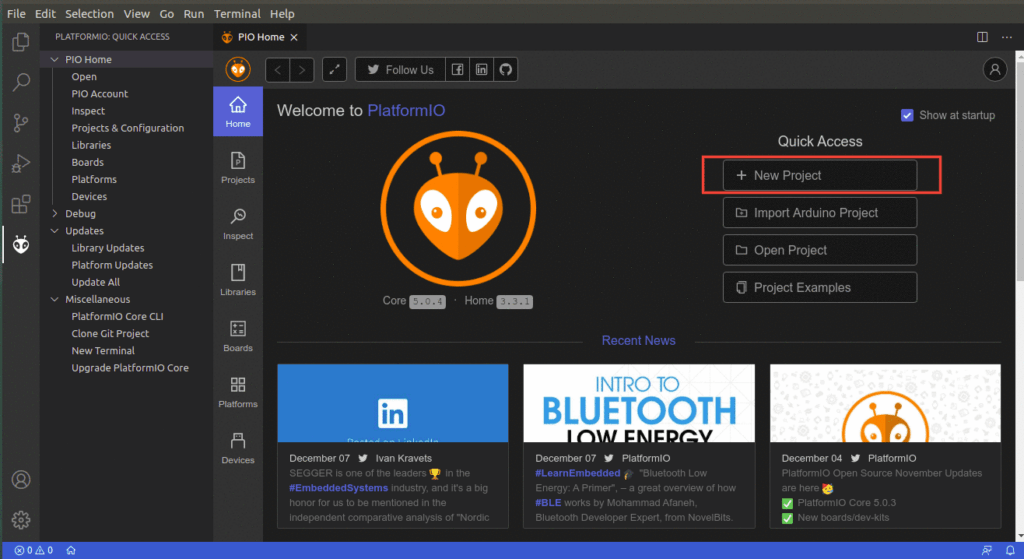
3.1.2 Creating a New Project
- Click on New Project.
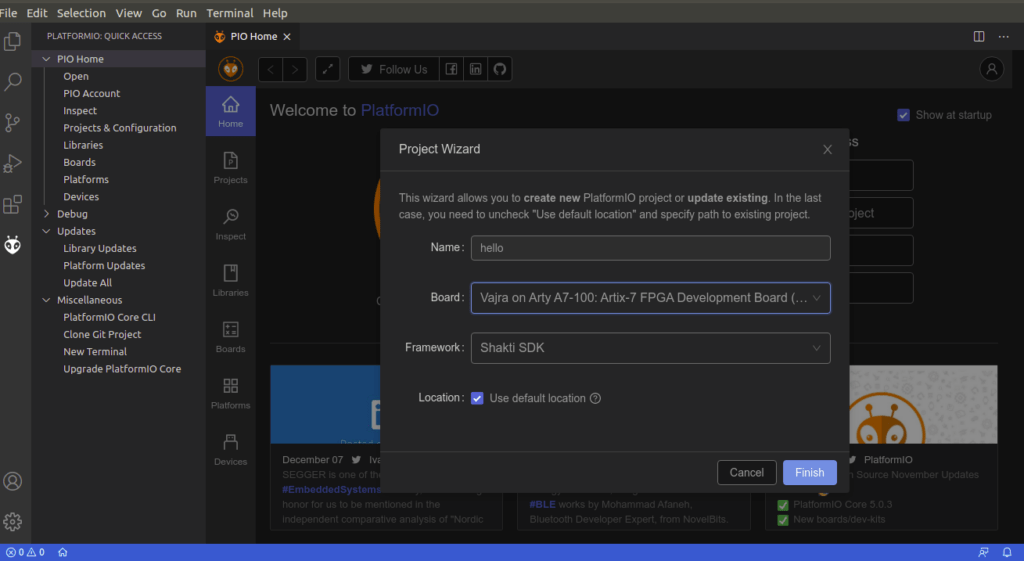
In Project Wizard,
- Name: Give a name to your project
- Select the Board: Pinaka, Parashu and Vajra Artix7_100t/35t
- Framework: shakti-sdk
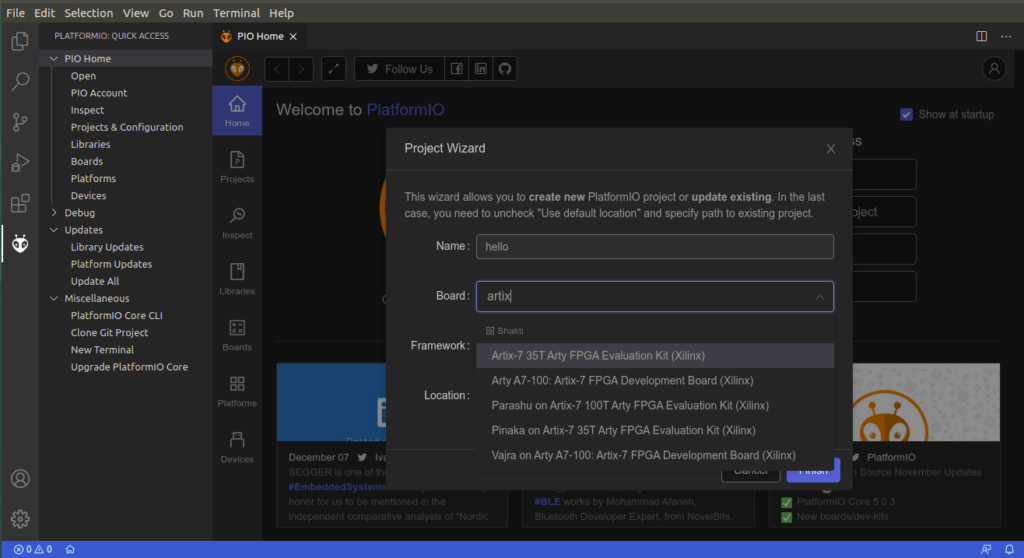
- Here we choose
Vajraon artix7_100t.
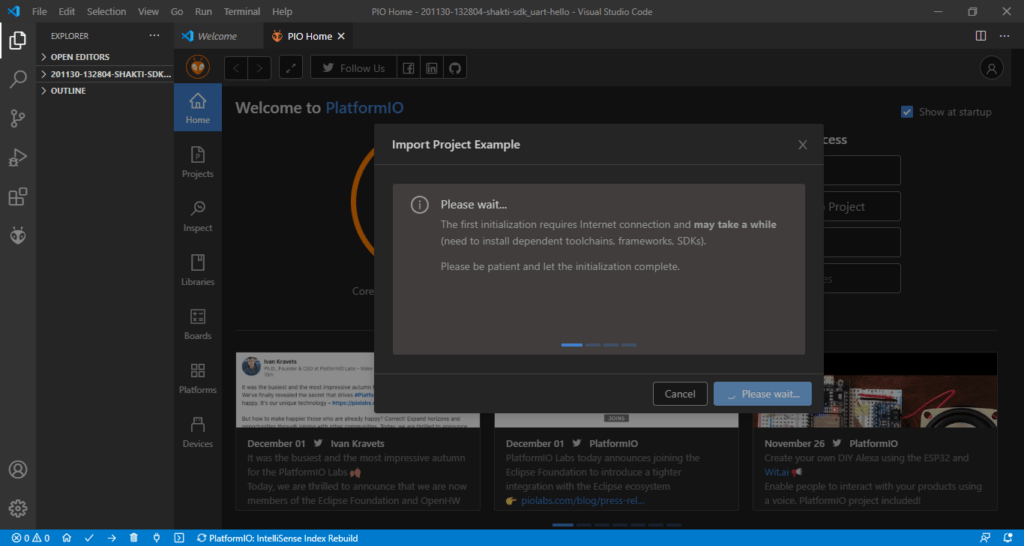
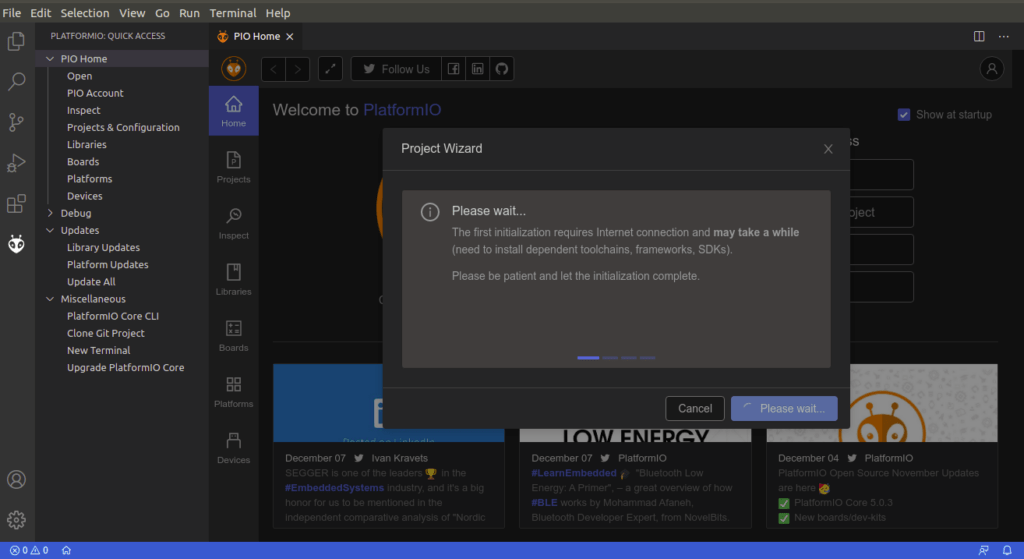
- Please wait while the project is getting ready.
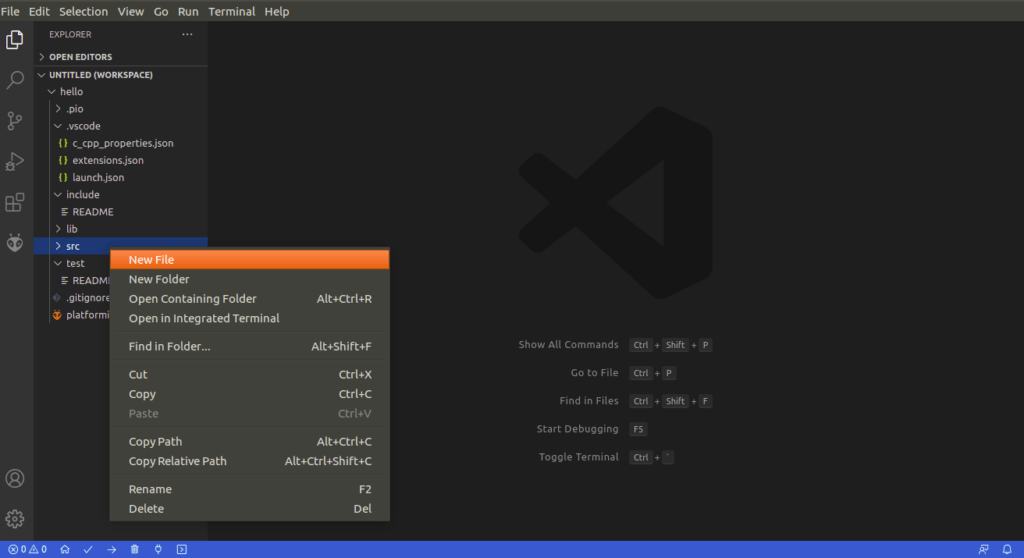
- Now add your code to the
srcfolder. Then save it.
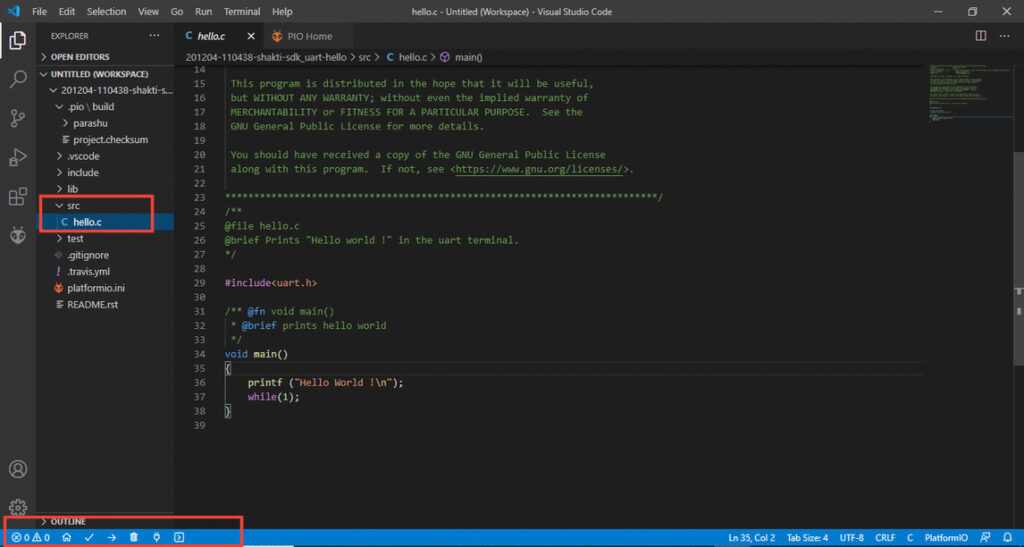
For example, Create a simple c program to print hello world and save it as hello.c
3.2 Setting up the environment variable
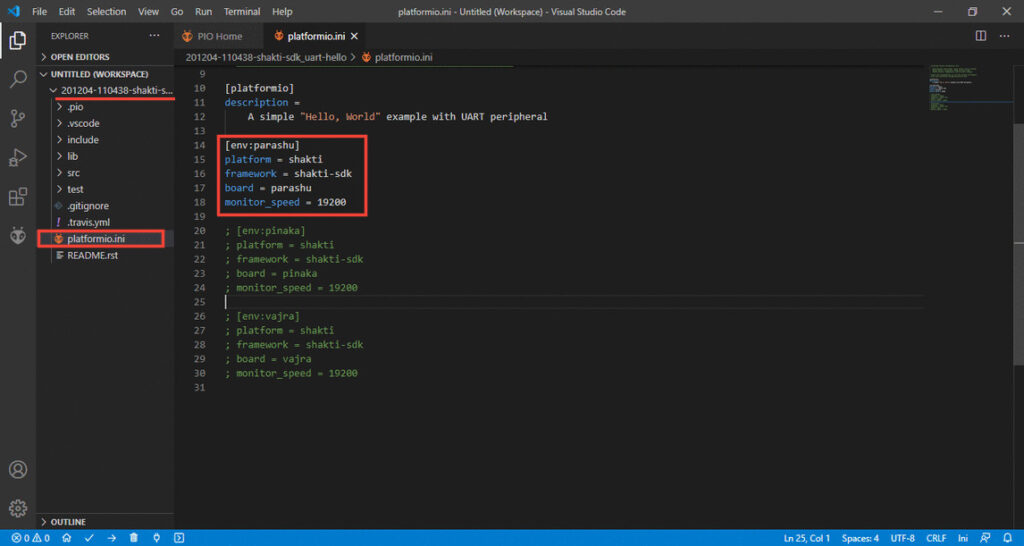
After importing or adding a new project successfully, you can see it on the right side of the panel. Now open platform.ini to set the environment variable and save it.
platform = shaktiframework = shakti-sdkboard = parashu(can be pinaka, vajra, parashu)monitor_speed = 19200
- Then open Source
(src)of the program. Build it and upload it to the board. The easiest way is to use the toolbar in the left corner of the PIO home.
3.3 Understanding the controls of PlatformIO Toolbar
PlatformIO IDE Toolbar is located in VS Code Status Bar (left corner) and contains quick access buttons for the popular commands. Each button contains a hint (delay mouse on it).

PlatformIO HomePlatformIO: BuildPlatformIO: UploadPlatformIO: CleanSerial Port Monitor
Video Tutorial:
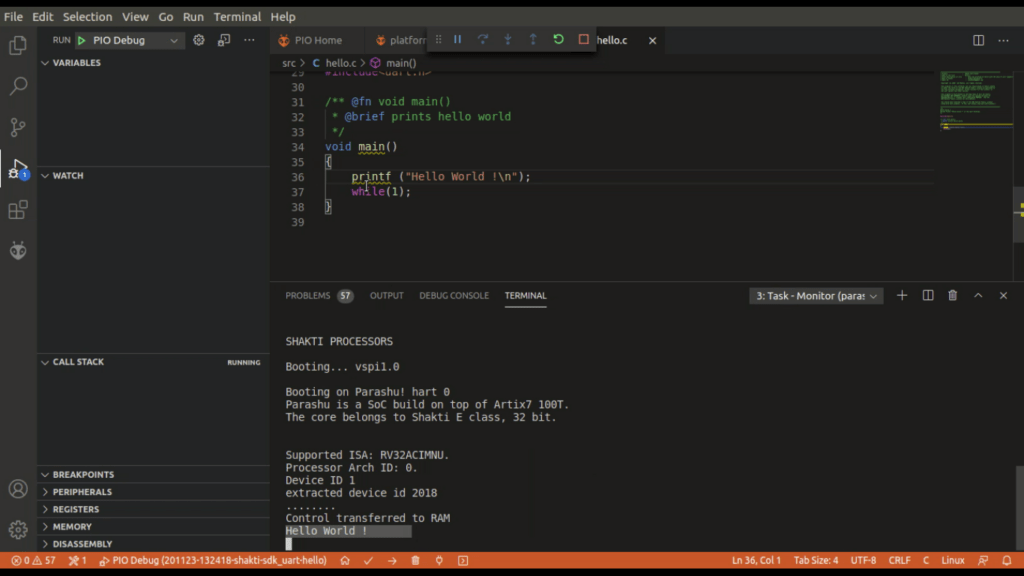
Output:
After building the application, Upload and open a serial monitor to view the UART output.
Commonly Faced Errors
Error 1:
Could not load platform updates
PIO Core Call Error: "DLL load failed: The specified procedure could not be found."
Solution:
- Check if you have multiple installations of Python. Uninstall all the unofficial (Anaconda and other broken versions).
- Install a valid Python interpreter (recommended Python 2.7+ or Python 3.5+) and add it as an environment variable to the PATH.
Error 2:
Error: libusb_open() failed with LIBUSB_ERROR_NOT_FOUND
Error: no device found
Error: unable to open ftdi device with vid 0403, pid 6010 description '*', serial '*' at bus location '*'
This is one of the common errors faced in Windows.
Solution:
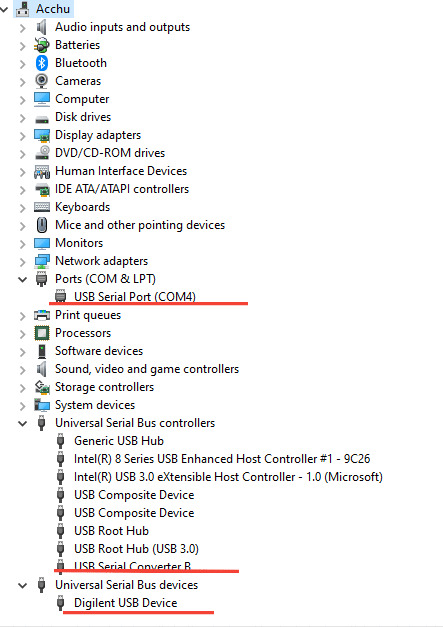
- Connect the arty board and open Device Manager. The board should be recognized as three interfaces.
- USB Serial Port
- USB Converter A (FTDI Device)
- Digilent USB Device
If the device is not listed even though the drivers are installed. Try one of the following,
- Try re-installing FTDI 2.12.28 and the Digilent cable driver.
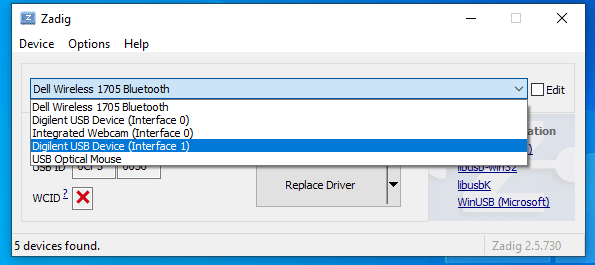
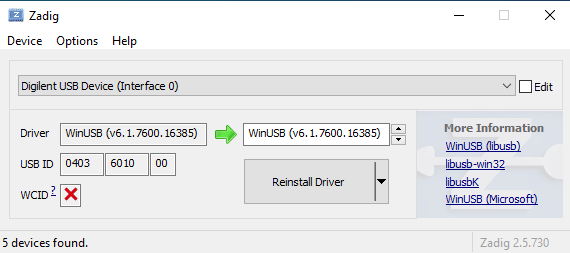
- Install USB drivers easily using Zadig. Install Zadig. Goto
Options -> List all devices.- It gives information about all the Drivers installed
- Digilent USB Device (Interface 0) uses the Digilent drivers
- Digilent USB Device (Interface 1) uses the FTDI driver.
- It gives information about all the Drivers installed
Re-install both the drivers.
This should effectively solve the driver issue.
Related Articles:
Check out this article written by Sree Harsha Angara on SHAKTI with Platform IO on Windows.
Akshaya currently works at the RISE labs. Her favorite subjects are Web designing and Microprocessors. She loves learning about new things and writing about them!

Thanks.|
I am getting error the following :
— Available ports:
— 1: COM4 ‘USB Serial Port (COM4)’
— Enter port index or full name: 1
could not open port ‘COM4’: could not open port ‘COM4’: FileNotFoundError(2, ‘The system cannot find the file specified.’, None, 2)
The terminal process “C:\Users\Sushant\.platformio\penv\Scripts\platformio.exe ‘device’, ‘monitor’, ‘–environment’, ‘parashu'” terminated with exit code: 1.
Terminal will be reused by tasks, press any key to close it.
Please help
I’m not sure whats causing this error. Ftdi driver behavior is very erratic.