Setting up a SHAKTI development environment manually can be time-consuming, especially when dealing with version mismatches and tool dependencies. Docker offers a clean, consistent way to package everything you need into a portable container, so you can start coding in SHAKTI immediately, without the setup issues. In this guide, you’ll learn how to create a ready-to-use SHAKTI environment using Docker in just a few simple steps.
Why use Docker with Shakti ?
- Avoid version conflicts by running SHAKTI in a clean, isolated container that always behaves the same—no matter the host system.
- Simplify setup with a ready-to-use environment that includes SHAKTI and all necessary tools preconfigured.
- Speed up onboarding for new developers who can start working with SHAKTI immediately without complex installation steps.
- Ensure consistency across development, testing, and deployment environments.
- Package and share your SHAKTI environment easily with your team or the community.
Getting Started
Step 1: Docker Installation
For Linux based systems
Prerequisites
- Any Linux based system (Ubuntu/Debian/..)
- MInimum requirements: 4 GB RAM and 30GB storage space
- Stable internet connection
Copy & paste commands from here to the terminal (excluding $)
Note: All this steps are tested in Ubuntu 22.04.5 LTS and Docker compose v2
# Step 1: Remove older Docker versions if they exist
$ sudo apt remove docker docker-engine docker.io containerd runc

# Step 2: Update your package index
$ sudo apt update

# Step 3: Install required system packages
$ sudo apt install -y ca-certificates curl gnupg lsb-release

# Step 4: Add Docker’s official GPG key
$ sudo mkdir -p /etc/apt/keyrings
curl -fsSL https://download.docker.com/linux/ubuntu/gpg | sudo gpg --dearmor -o /etc/apt/keyrings/docker.gpg

# Step 5: Set up the Docker repository
##  For Debian users, replace ubuntu in the URL with debian
$ echo \
  "deb [arch=$(dpkg --print-architecture) signed-by=/etc/apt/keyrings/docker.gpg] https://download.docker.com/linux/ubuntu \
  $(lsb_release -cs) stable" | \
  sudo tee /etc/apt/sources.list.d/docker.list > /dev/null

# Step 6: Update your package index again
$ sudo apt update

# Step 7: Install Docker Engine, CLI, and Compose v2
$ sudo apt install -y docker-ce docker-ce-cli containerd.io docker-buildx-plugin docker-compose-plugin

# Step 8: Verify Docker installation
$ sudo docker --version

# Step 9: Verify Docker Compose v2 installation
$ sudo docker compose version
Note : If using Fedora or CentOS/RHEL based Linux distribution use appropriate package manager command
For Windows based Systems
Prerequisites
- Any Windows based system
- MInimum requirements: 4 GB RAM and 30GB storage space
- Stable internet connection
Go to Microsoft Store and Search for Ubuntu 22.04.5 LTS

Click on the get button and install WSL based Ubuntu 22.04.5 LTS and use Search bar and search for Ubuntu 22.04.5 LTS
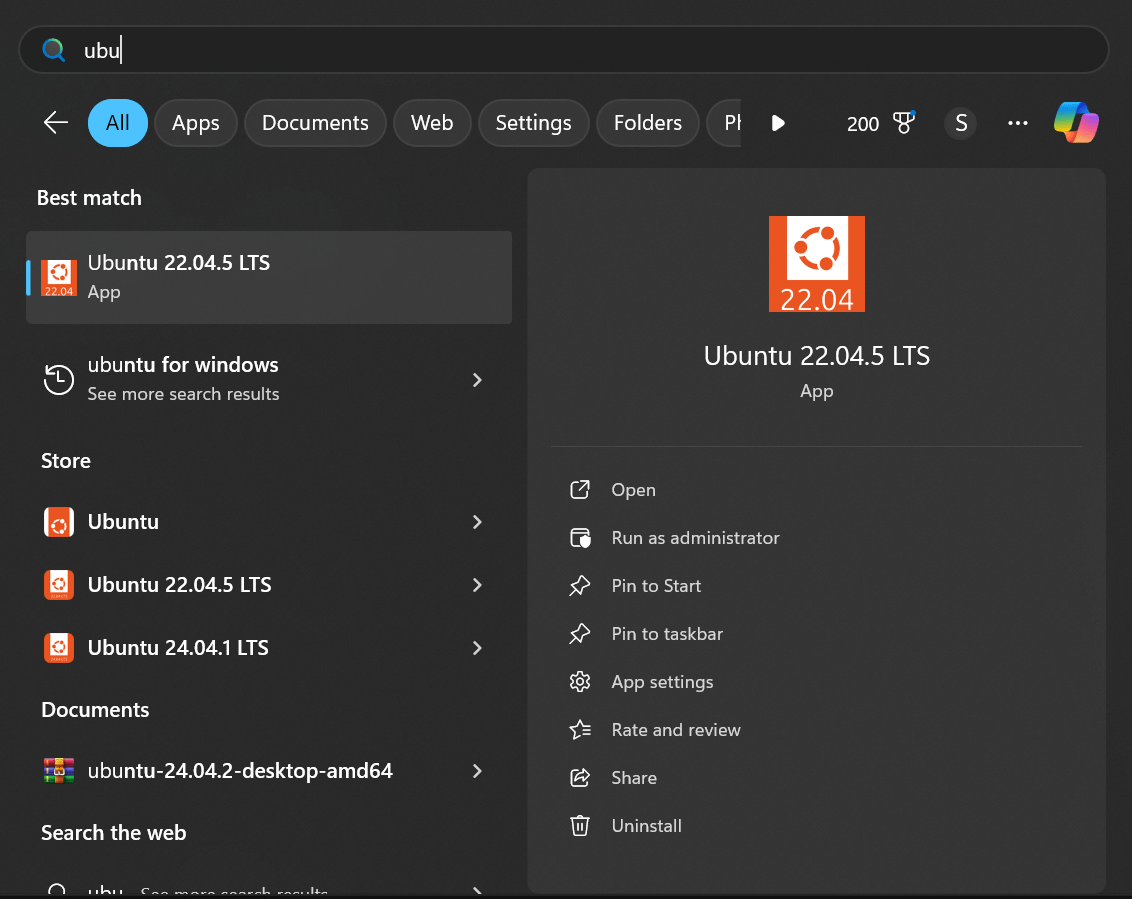
Click and Open. You will get the following window
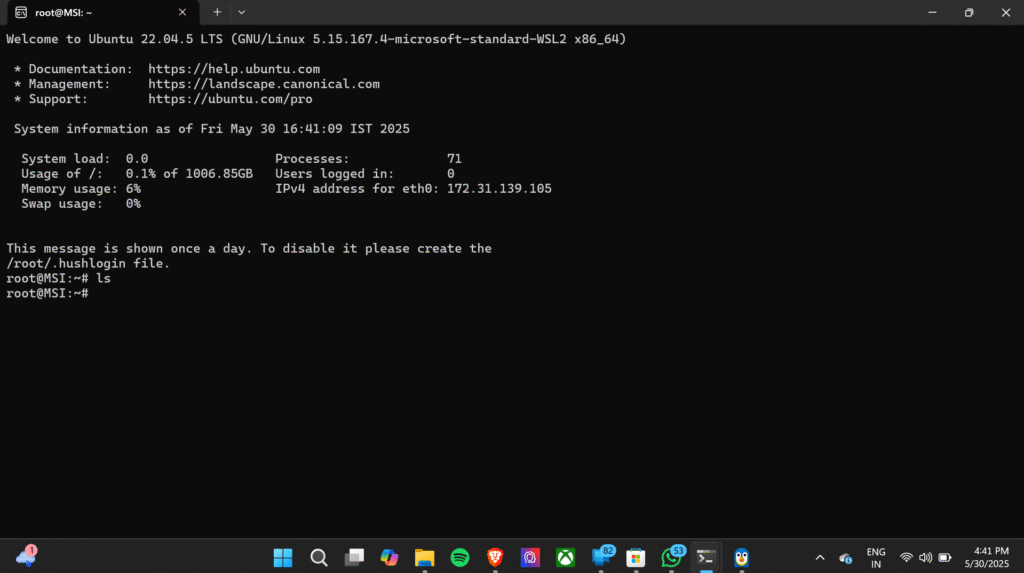
From here, Follow the same docker installation steps in the above section (Step 1) and then move to Step 2.
Step 2 : Building SHAKTI Docker image
Prerequisites
- Docker (Previously Installed)
- Vivado
Download Vivado 2018.3: Lab Edition – Linux and copy inside Shakti docker folder
To download, follow the below link
#Step 1 : Clone the GC2025 gitlab repository
$ https://gitlab.com/shaktiproject/gc2025.git

#Step 2 : Change directory to GC2025
$ cd gc2025/Shakti_docker

#Step 3 : Execute the following command to build image
$ sudo docker compose build

## Wait until this build process completes, this may takes around 30-60 mins based on the internet connection
⚠️ Warning: High Data Usage
Installing Docker, especially for the first time, can consume a significant amount of data. This includes downloading the Docker Engine, CLI tools, container runtime, and dependencies. Additionally, pulling Docker images (such as Shakti or base OS images) can also involve large downloads.
If you’re on a metered or limited internet connection, consider downloading packages on a more stable or unmetered network.
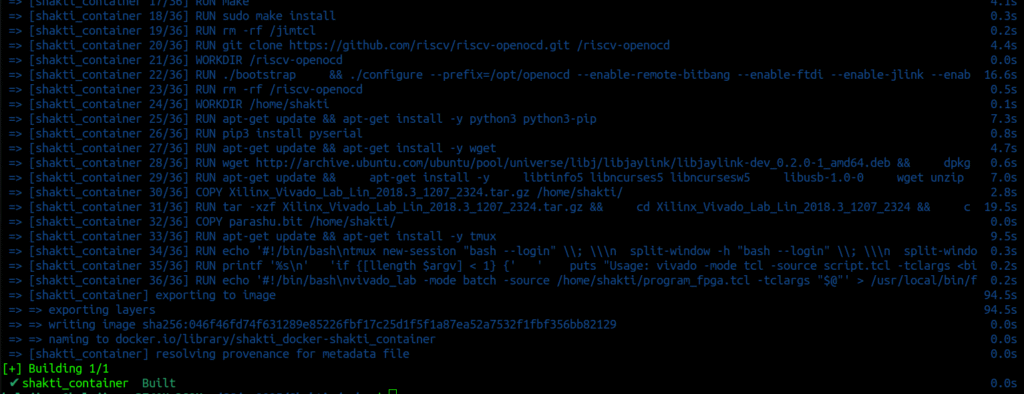
After the build gets complete, it appears the same as above window image
Step 3 : Creating a container from SHAKTI Docker Image
#Step 1 : To create a container
$ sudo docker compose up -d
# Step 2 : To attach the created conatainer to terminal
$ sudo docker attach shakti_container__

# This will give terminal of the container where we develop applications
# Type exit in terminal to exit from the Docker container.
That’s it. You generated a container using the SHAKTI docker image. We will be using this container for application development using SHAKTI environment. Here after you can use the container alone, no need to build image again.
Must-Know Basic Docker Commands
List All Docker Images
$ sudo docker images
List All Containers
$ sudo docker ps -a
Start the Container
$ sudo docker start <name_or_id>Example:
$ sudo docker start shakti_container__Attach the container
$ sudo docker attach <name_or_id>Example:
$ sudo docker attach shakti_container__Note: To exit the docker terminal, type exit and press enter. Every time when you exit the container, To start the container again you have to use start command again and use attach command to attach that container.
Stop the Container
$ sudo docker stop <name_or_id>Example:
$ sudo docker stop shakti_container__
Delete the Container
$ sudo docker rm <name_or_id>Example:
$ sudo docker rm shakti_container__Delete the image
$ sudo docker rmi <name_or_id>Example:
$ sudo docker rmi shakti_docker-shakti_container
Balaji is currently working in RISE Lab. He has a deep passion for tinkering with sensors and development boards..